Saturday, March 31, 2012

Playing a Little "Ketchup" ;)

I'm sure this little guy never procrastinates! Find him at Momshoo
Well I hope I gave you a week's worth of crochet and cuteness. Back to regular posting!

If you have any requests for blog topics, Tutorial Tuesdays, or anything else, let me know in the comments and I would be glad to try to make it happen!

Beautiful Buttons and Beyond!

Letter Perfect Designs will personalize a button monogram for your wall
When I was little I was always a little bereft about visiting my grandmother. No Nintendo! No cable! What was a girl to do? Luckily, she had this great big box of buttons. I would dump them out on the floor and arrange them by color, shape, size, material, or theme. I would pick out my favorites or arrange them in rainbows. It kept me occupied for hours. What a great source of inspiration!

I like to use buttons in my crochet projects as eyes or embellishments, and sometimes as closures for accessories. Hopping around on Etsy, I can see there is more to buttons than meets the eye! Buttons have way more going for them than just keeping your coat closed!

Hit the jump for an explosion of color from great buttons that go above and beyond!

Engulf yourself!

Make your morning coffee a crochet-worthy!
These beautiful coasters come from Krocheting Kristin 
 I focus my crochet efforts mostly on amigurumi, but there are so many ways that crochet can be useful in your daily life! From helping with clean-up to purely decorative, crochet can creep into every part of your day.

Check out the beautiful and every-day-applicable crochet items after the jump!

I mustache you a question...

How do you feel about beards?
Legendary Crafts has a legendary beard!
 I have been seeing more and more of these crocheted beards popping up around Etsy. Personally, I have a huge attraction for beards! I need to learn to crochet them. Hit the jump for some excellent beard examples:

Tutorial Tuesday (on a Saturday): Totally Tassels!

This little guy is my proudest achievement! When it comes to amigurumi, the devil is in the details! Simple techniques like edging, embroidery, and tassels can really make a difference.

Materials:
Sewing needle
Two 10" pieces of embroidery thread


Follow the instructions below and you'll be tasseling in no time!

Tassel:
1. Separate out one thread from one of the strands of the embroidery thread, the remaining strand will now be called the “partial strand” 
2. Wrap whole strand  (shown in red) around the partial strand (shown in blue) and the single thread (shown in purple)

3. Thread single thread into sewing needle, wrap around top of twist many times, tie off and sew into middle of wrapped section
4. Twist the partial strand firmly and fold together so it twists around itself
5. Tie bottom two ends together in a single knot at desired length, trim ends    


Bad, blogger, Bad!

I found this guy at The Mary Sue to say "I'm sorry"--Just try and be mad!

Yikes I have been almost a whole week without a post! Let's see if I can give you a week's worth of posts to make up for it...

Sunday, March 25, 2012

The Distance Between Creepy and Cute

Death is... cute? Check him out here.
This swashbuckling cutie can be found
sailing the high seas of my shop.

Time was, a pirate would put a chill in your bones. Now he's warming your heart! And did you ever think you'd coo over the grim reaper? What a conundrum!

Why is it that what makes us saw "awww" one minute can make us say "eeek!" the next? To believe the experts, the theory of neoteny explains why: We like babies! Bringing the proportions of even threatening objects to baby-sizes makes even the grim reaper himself seem adorable. Big, wide-set eyes, small mouths, and giant heads help to soften the image of any creeper!

Hit the jump to see some more creepy cuties!

Saturday, March 24, 2012

The Inner Sanctum

Yarnacle Sighting!
Sorry for the two days sans-blog post. I found out yesterday that I passed my board exams to become a dentist! 

I thought I would share with you today my "studio" (a.k.a. my living room). Above you see a tiny yarnacle from last week (this one belonged to Yum Yolk). I split my time between the couch and the papasan chair while crocheting.

The afghan on the back of the couch was my first big crochet project!
I made the pillow case out of a shirt I bought at Goodwill.
It didn't fit me, but it fits the pillow just right!
This basket 'o yarn lives under the end table in the above photo
So this is where I stitch the day away. Keeping things bright makes sure I always have inspiration!

Wednesday, March 21, 2012

Follow-Up: Faces!


For my earlier discussion of face-or-no-face on food amigurumi, see this post.

So I decided to get on the face-train for the foodigurumi. What are these green and yellow blobs all about?

Hit the jump for the answer!

As always, these guys are available in my Etsy shop.


Tuesday, March 20, 2012

Tutorial Tuesdays: Fabulous Photos!

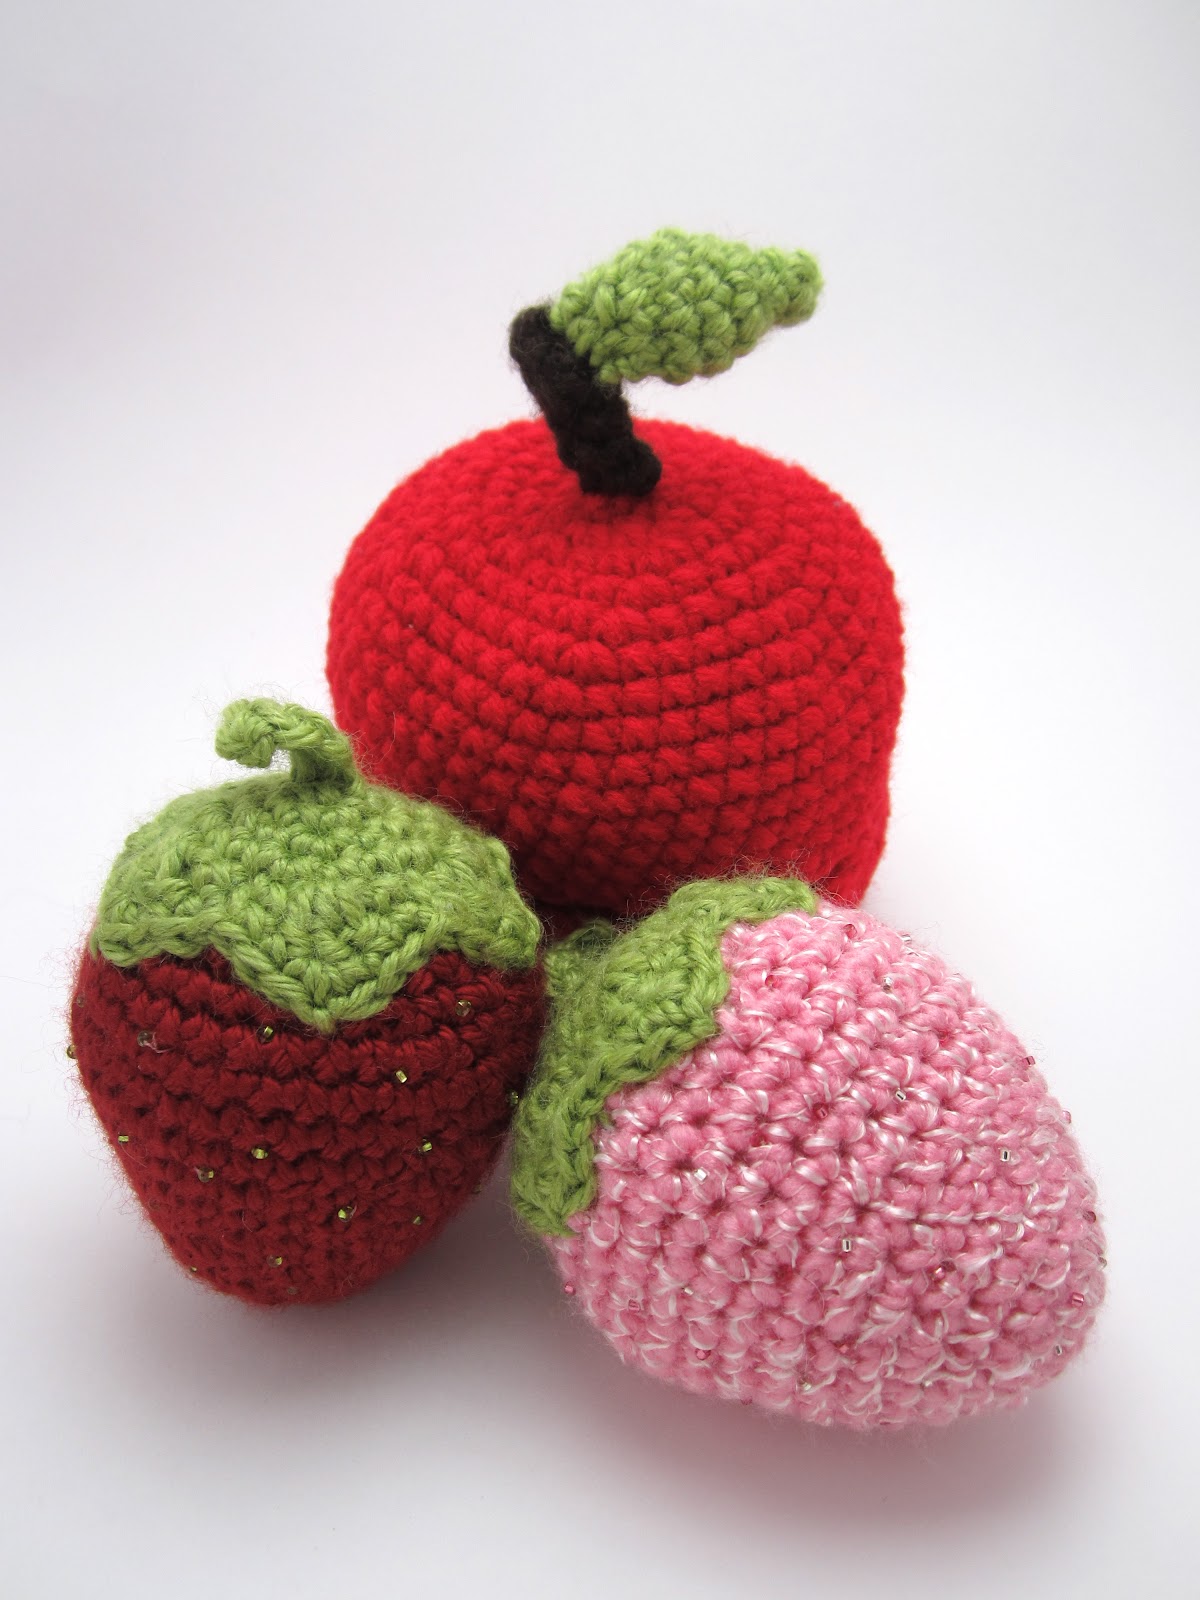
This little guy is just so photogenic. Find him at my shop!

So I thought I would start a weekly feature called Tutorial Tuesdays. This might include patterns, tips, tricks, or other useful info. This week, I'll be going over a cheap and easy technique for creating fabulous photos of your crafts! Yes, I will take requests!

I will be the first to admit--I bought my digital camera because it was on sale and it was pink. It's a Canon Powershot Elph 100 HS which shoots at 12.1 megapixels. Not many bells and whistles, and I think I paid just over $100 for it. By creating the right environment in which to take your photos, you don't need a fancy camera!

What's the right environment? A lightbox! I made my lightbox for around $6 and it only took me about an hour. Let me say: WORTH IT!!

Here's what you'll need:

  • A shipping box (I used 14"x14"x14" which is a little small for some of my amigurumis, but it's manageable to store in my apartment)
  • A box cutter
  • A ruler or tape measure
  • Two pieces of white tagboard
  • Packing tape
  • About 1.5 yards of white cloth (I used plain old broadcloth from my local craft store--a white t-shirt might also work)
Here's what to do:
1. BEFORE you tape the box together, mark a square 2" smaller than the side of your box on three of the sides (top, left, right) as shown below.


2. Use your box cutter to cut out the squares you marked, as well as cutting the flaps of one side (let's call it the "front") down so they are 2" as well.

3. Tape together the bottom of the box as usual, tape the 2" flaps together so you have another square window (see photo after step 5 if you're confused about the flaps)

4. Cut 2" strips of tag board and use rolls of tape (or glue, if you prefer) to adhere them to the inside edges of the square "windows" you cut out, lay a long piece of tagboard along the back and bottom so it bends softly at the back of the box.

5. Tape fabric around box so it covers the top, left, and right windows.
 DONE! Now you're ready to light up your box and take some amazing photos!

Hit the jump for some BONUS tips on lighting

Monday, March 19, 2012

Treasure Trove

I also was inspired to make my first treasury list on Etsy. Check it out!

Spring is Springing!

Griffith Gardens leaps into spring here

At 1:14 AM EDT tonight, spring has officially sprung. Having lived in the Midwest my whole life, I have had my share of bitter winters. Even though this year was surprisingly and wonderfully temperate, it's still nice to see the trees blooming and the sun shining.

Today I was all over the appliques. I love to find inspiration in little appliques. They are a great way to get used to a new brand, weight, or material of yarn. I never let my practice pieces go to waste! Nothing like a quick project for warm days when attention spans are short. Then they bring the spring to totes, cardigans, tanks, hair pins, and everything else!

Hit the jump to sproing into applique Eden!


Sunday, March 18, 2012

Breaking News!

This just in... I just made my first sale on Etsy! What a rush! :)

Holy Yarnfoods, Batman!


What is it that makes food so crochet-able? Can we make a new name for this? Foodigurumi! I have been all over the fruits lately, but other foods are creeping into my imagination. I think food is just the right size and shape for crochet. Also, it makes super fun toys! I find food projects to be the most delighting. 

Then, there is always the question: Face or no face? Is food with eyes a little creepy or doubly cute?

I searched around on Etsy for some inspiration to solve this age-old mystery. Check out my findings after the jump!

(I made the berries an apple above and you can find them and the pattern for the berries in my shop. The apple has a surprise inside!)

Saturday, March 17, 2012

Hippity, hoppity, CrochEaster is on its way!

Easter is hopping 'round the bend! I have recently opened an Etsy shop (which you can find here) with some of my newest creations. I had a great time creating a pattern for these easter eggs and I've been hard at work making as many as possible. Above are some of my more whimsical and fancy eggs. The idea is to fill them like plastic eggs, but they're better! ....You know, 'cuz they're crocheted!

More eggs after the jump. Easterlicious!

What's a yarnacle?


Welcome to my Blog! 

First, a bit about myself: My name is Lily and I live in Iowa City, IA. I am a life-long crafter, but my most recent and strongest craft obsession is crochet.  I am a self-taught crocheter and I enjoy learning new tricks and I'm always pursuing new and more complicated projects.

What's a yarnacle? 
As I sit an crochet, I leave bits behind--balls of yarn, yarn needles, crochet hooks, tiny pieces of yarn, puffs of fiberfill, etc. My boyfriend, Dan, started referring to them as "yarnacles" because the accumulate like barnacles wherever I sit for too long.

What's Yarnacles all about?
This blog is devoted to crochet, amigurumi, crafting, and best of all CUTENESS!